A while back ol' Hal scores on a Kevlar Explorer vintage 83 if I'm correct. If I said it was treated well I'd be a liar. The stems were horribly treated and needed a lot of attention. One needing a total rehab, meaning filling in the baseball bat hit with thickened epoxy and then laying over a skid plates.

So here was the kicker in this tale. We had nice and comfortable temperatures all week but of course this is Scooter and Hal we're talking about so Mother Nature decided to turn the thermostat down for this endeavor! A mere 37 degrees with gusting winds. Our plan was to fill the divet, put on skid plates, put in seats and have it ready to go home with Hal. Gotta love a plan but they can go badly on a whim.
Friday night finds Hal here with the boat. We get it into the work cradles and start looking it over. From previous talks we decide to put in the seats first so the hull would be stiff enough as well as carry handles. The gunwales were and are suspect, old but doable.
 | |
| First Carry Handle. Please ignore the face of Hal |

We also got an original seat in from his old and weather beaten Explorer we call the Hand Basket a hull that has paddled more rivers then you can count.


The plan for Saturday was to web the seat, mark out and tape for skid plates and do all the resin work.
3/19/2016
Saturday morning found us only in the 30's with a steady wind and it was one of those damp, cold and raw days. I had my doubts about any resin work. Waiting to see if it warm up some we worked on the webbing the seat. I wish I had taken pictures of this process but my camera was no where to be found only later to be in plain sight! I had some rolls of black, rainbow, pink and orange webbing. Since it was Hal's seat I let him pick and choose and I will admit it came out pretty damn nice looking!


March 26, 2016
Holy Crap it got warm out today! I waited until around two o'clock for the shed to warm up. In the meantime I had to make some templates of the skid plates. For this I used wax paper taped down.


More To Come.
April 2, 2016
For the last week I have been messing around with that divot in the stem of this boat. Twice using thickened epoxy and peel ply I tried to fill it but due to using the time sensitive peel ply I had to pull it off and the damned epoxy sagged. In the end I used some plumbers epoxy to fill that void. Probably should have done that in the first place!
Today Hal is coming back to the Humble Hovel so we can get the skid plates on. I've tried three different times to make a template, cloth, newspaper, waxed paper, only to have them come out with more wrinkles than I can describe and knew they would be off. I think this is due to the fact that we are trying to cover almost to the tips of the stems which is a long stretch and something I haven't done before. I wanted Hal to be here to try to figure this out which I think will be a two piece process for each stem.
We decided on making a two piece skid plate, the first piece coming from the back end and then laid down a thinner strip to marry up to that one. Before we got working on the template though Hal wanted to do a little more sanding on the sag area and then we added a little more Plumber Epoxy.


 |
| Part one of the Template |
 |
| Cutting out |

 |
| Measuring for Part of Skid Plate |

For a clean cut we used a razor blade, a trick I learned from Mr. McCrea and is really the only way to go. Of course we forgot about cutting on the bias but it did turn out well. What strands that came out mostly came from wetting out the cloth.
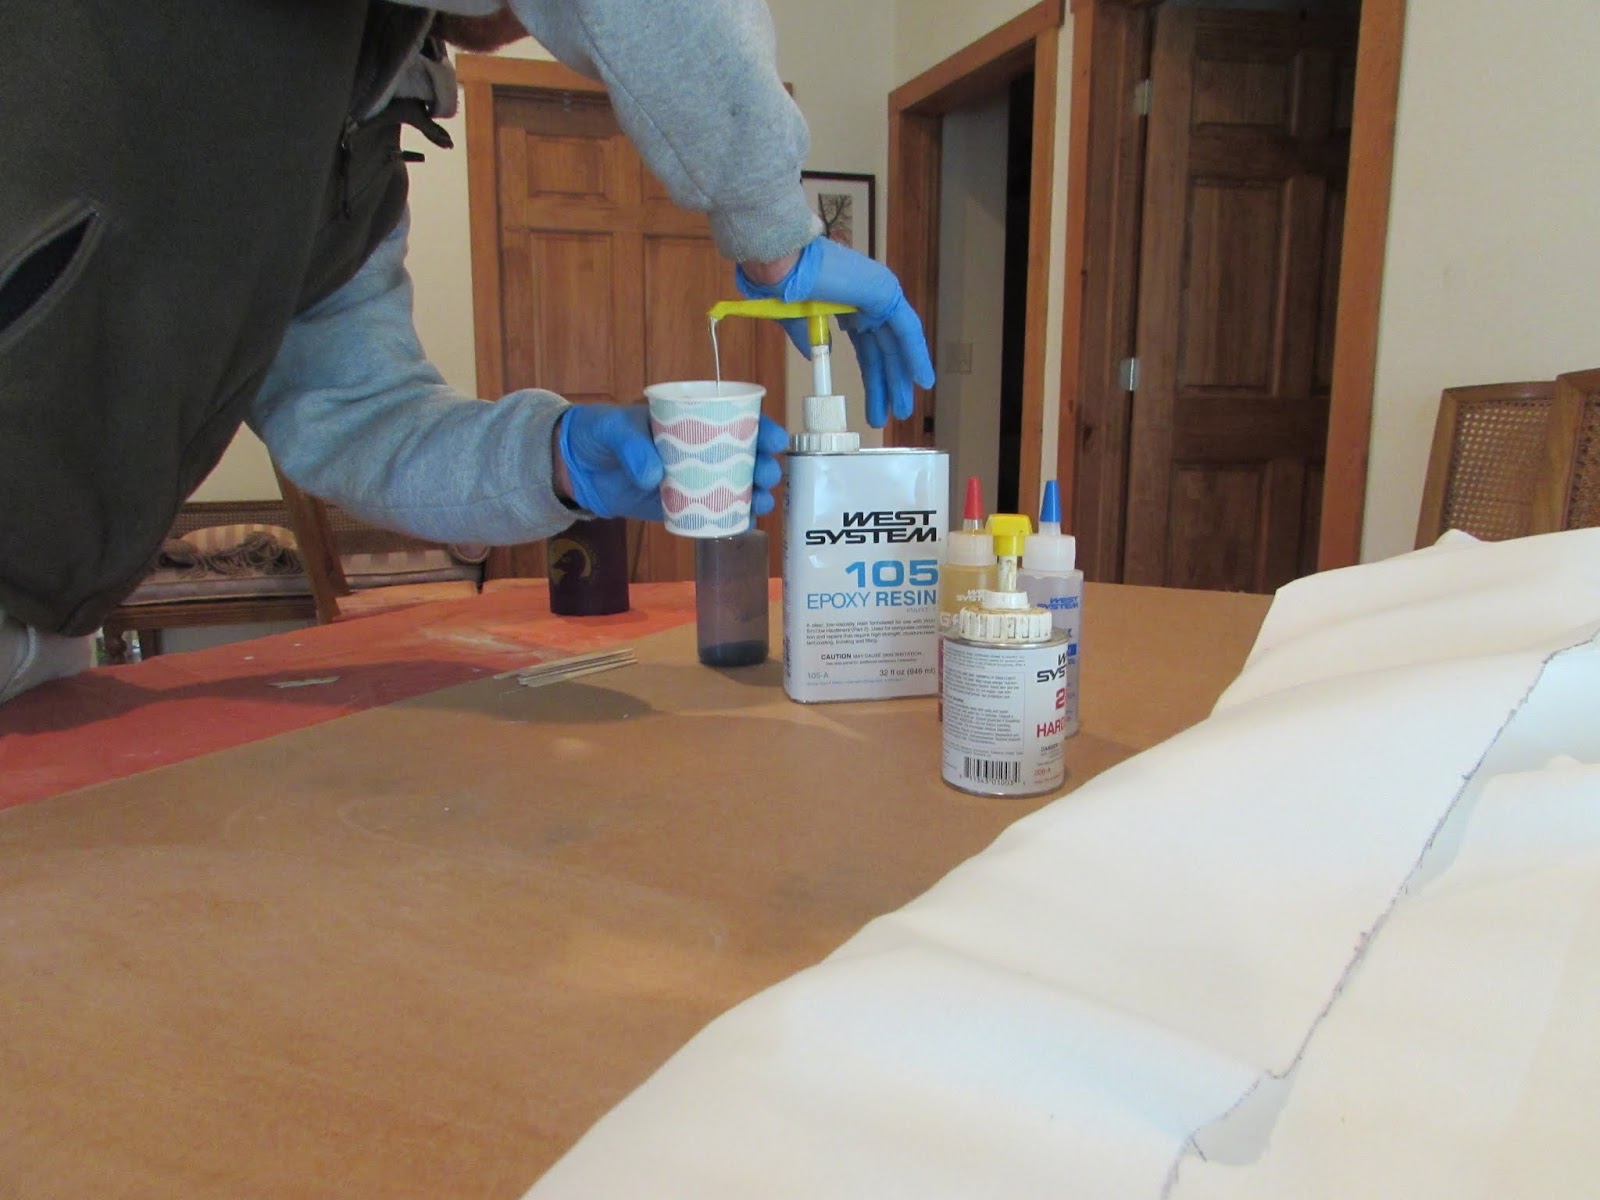
What we used was West System 105/206 with G-Flex mixed in and then a dose of black pigment.


 |
| Checking for air bubbles and bends in the cloth |


Of course we had to spend a fair amount of time baby sitting the resin to make sure we got all of the bends in the cloth tapped down and then we put on the Peel Ply which took care of the rest we hoped. As usual the second skid plate went on much cleaner then the first.
So now because we were using that cursed time sensitive Peel Ply we got lunch and watched a movie. Before we did that though we placed a heater underneath the hull and put Halogen lights near one end as well hoping it would help heat up the hull and the drying process.


The following pics are of Hal pulling the Peel Ply off. Takes two hands and is a bear.


 |
| Top 1/4 smooth, rest not as smooth |
One section was smooth as a baby's arse but the other where the heat didn't hit was still rough. We took plastic wrap and covered it then taping it down while smoothing it and called it good. Now on the other stem because we started later it wasn't cured yet. After much discussion/head and ass scratching we decided to cover it with plastic wrap with the Peel Ply still on and taped it down for the drive back to Hal's abode.


 |
| This Hunk o' Rope is from the McCrea bag of rope scraps |

So, I am waiting to hear from Hal as to how that last piece of Peel Ply pulls off so I guess there is a bit...
More To Come.
The report from Hal was when he got home the peel ply pulled off leaving a nice smooth surface. The plastic wrap we used did leave a few almost noticeable wrinkles but as he said, "I'm not complaining." Now he has to spend some time putting in a new Teal carry thwart and re-web the front seat. It turned out I did have enough rainbow webbing to finish it off.
That webbing cutting trick of yours is pretty slick. Hal
ReplyDeleteNice start, that canoe has alot of potential, should be a good one, but please, re-web that front seat to match the nice stern seat.
ReplyDeleteSorry to hear the white Explorer is retired. It's always bitter-sweet when a boat runs that last river.
ReplyDeleteWell done on the seat. Am I missing something? Which cutting method?
ReplyDeleteJason
Jason, heat a putty knife with a torch, lay the webbing down on a cutting board and just push the hot knife through it. Cuts cleanly, easily and no fraying.
ReplyDelete