Recently I was talking to a friend whose husband has a Pungo 140 with a crack in it. I mentioned that I worked on boats and made an offer to try to fix it. When I finally got to their house to take a look at it I should have walked away! I guess I'm not the sharpest knife in the drawer and decided to tackle this job!
I got it back to my shop and started with the patch that they had put on. It wasn't done well so the hull still leaked. It didn't take much to get it off, kind of like peeling a band aid off and it looked like it was made of carbon fiber. They had told me it was very expensive!


Now I had a good look at it and simply had to walk away and find myself several cans of liquid courage! This was some fugly and I needed some time to think on how to even begin the fix!


 |
| Add caption |

Of course because of the angle of the crack I couldn't push it back in! I ended up getting out my saw blade and started cutting the crack but the angle was such that my blade just kept slipping. I finally got out a power tool and got it done that way. At this point I wasn't sure how to proceed. I knew that G-Flex would work on this but having done a similar patch on another kayak I knew what a bear this was going to be and decided to consult some folks and do some research.
June 2013
I spent quite a bit of time looking on-line and then contacting a few folks about fixing this ugly crack. If it was fiberglass, kevlar, or royalex I would have just gone to town with it but I know that poly is a bear to work with because it doesn't play well with resins and the such. I finally decided to try a plastic weld which of course I have never done before. I knew it was a pretty straight forward process but I had one downfall. I didn't have the same material so I opted for using a thick plastic I had floating around.
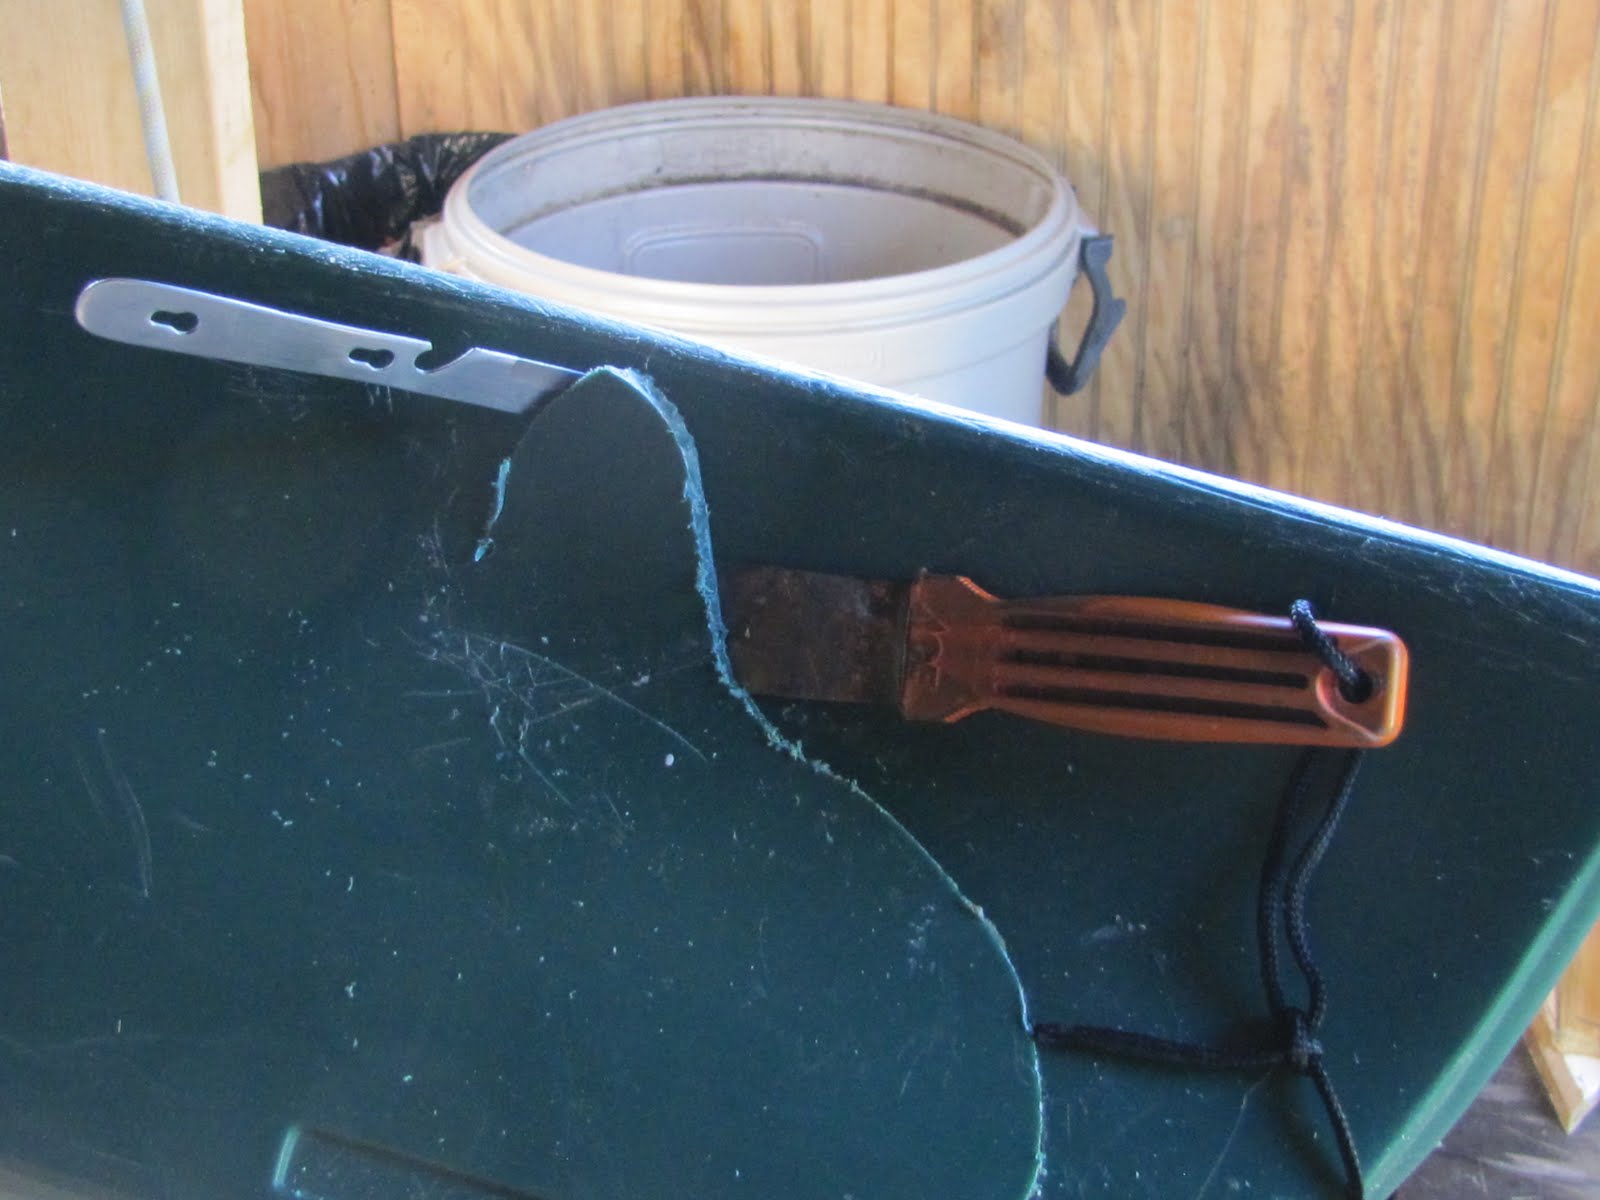
I cut the plastic into thin strips and using a heat gun and that camp knife I slowly got the plastic in.


I used the propane torch to heat up the knife to touch up the plastic on the hull. Now the bitch was even with the heat gun on low and keeping it moving one side of the hull sagged. I tried to brace it but everything I tried kept sliding out due to the hull. I ended up saying the hell with it and got it as close as I could.
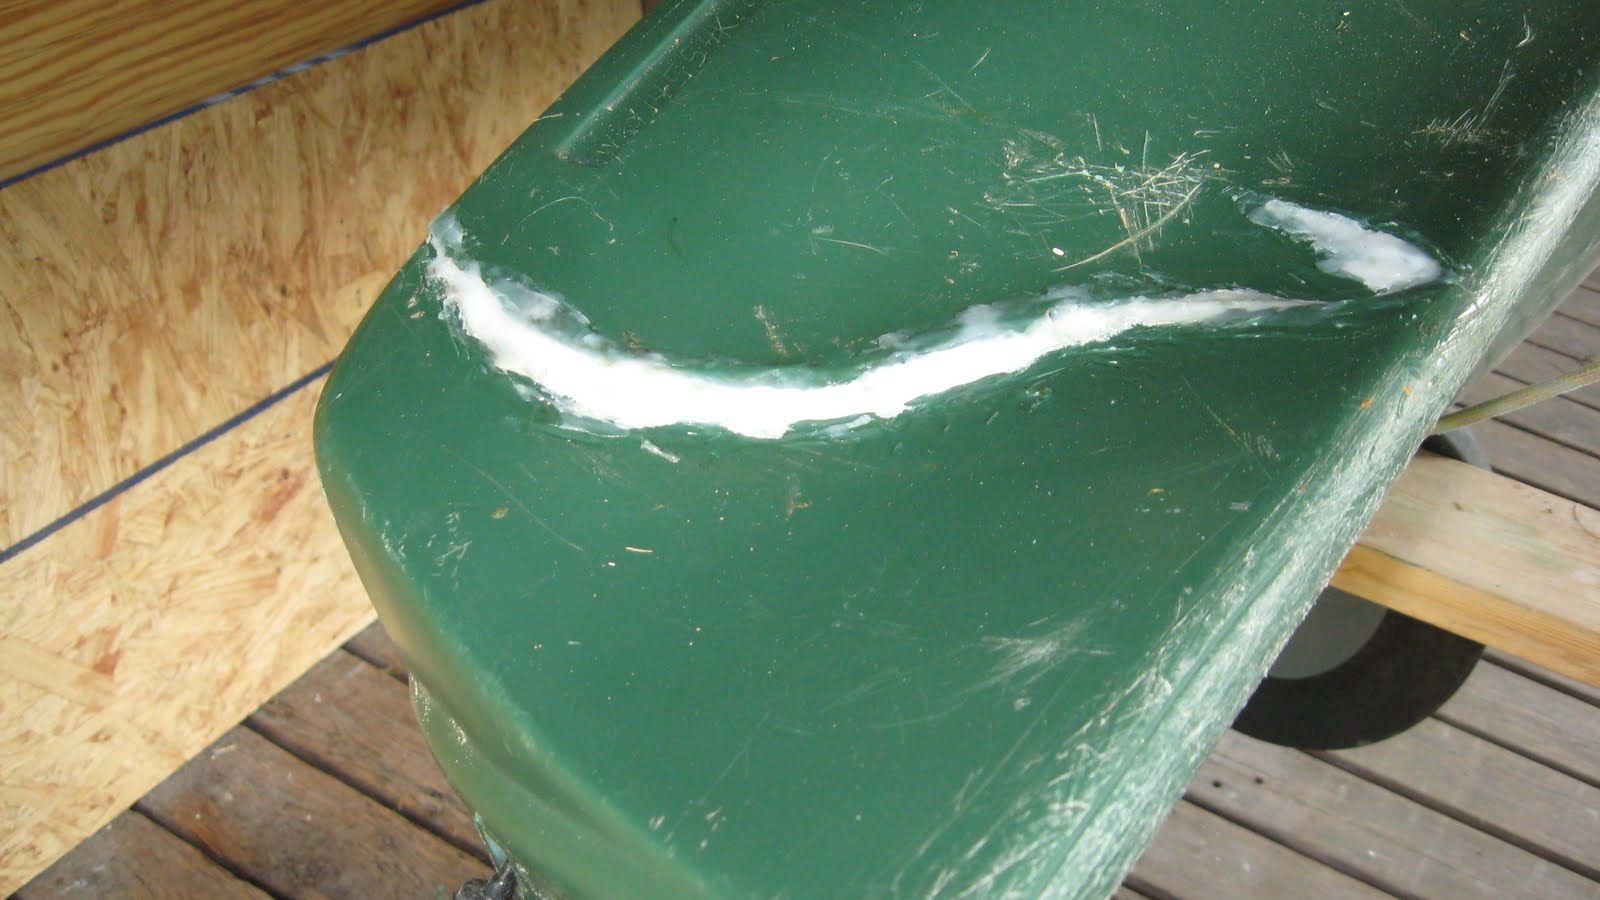
This was the end product! Since I didn't have a lot of faith in this I decided to add a layer of cloth and resin. I taped off where I wanted the patch to go and then started with a resin/G-Flex mix as this was the stern and would take some abuse. I used a heavier cloth and then finally added a layer of Dynel for added protection.


**Quick note: I usually document this hell out of my projects with pictures but decided to take a swim one evening in my kayak with my camera, now in a bag of rice, so had to resort to an old point and shoot which kept crapping out as well.
After a few days of letting the patch cure I poured in a couple of gallons of water and low and behold it leaked, not much but the goddamn thing leaked! After a can of liquid courage I knew that I had to add a patch on the inside as well. Now in order for poly to react with resin one is supposed to heat and sand. This was a major chore while sticking ones head inside a hatch to get at that area!
As with most projects I end up learning something new! This time it cost me in time an d materials. I used the heat gun on the inside and then sanded while it was still warm but when I looked at the outside patch the heat had turned parts of it white and it was loose! WTF! I put the patch on the inside and let it cure for a day or so. I then cut off the white and loose parts of the outside patch until I could peel up anymore and laid down a patch over a patch!
Another round of filling the hatch with water and this time no leaks after two hours. I put paint on it and called it done. I wasn't crazy about the whole process nor how it looked but it is functional now after two years of not being in the water.
Below are a couple of links to DIY repairs on poly:
http://www.instructables.com/id/Fixing-a-plastic-polyethylene-kayak-with-a-hole-/
http://www.youtube.com/watch?v=hYuGKXAYy-E
I'm not sure I'll work on a poly boat again but if I find a junker for free somewhere someday I will grab it to play with. Plastic welding isn't difficult but to make it clean I can see will take a lot of practice!
No comments:
Post a Comment